How to - git branch
When working together on a repository, it can be annoying to always use git merge.
Branches offer the ability to temporarily diverge from the main codebase.
The default branch is typically named "main" or "master".
Everything merges back into the "main" branch eventually.
How to create a branch?
- To use branches, you must have an existing repository. If you haven't created one yet, follow this Guide.
- Next, clone your repository if you haven't done so already. Follow this Guide if you encounter any issues.
- Create the branch. There are multiple ways to do this:
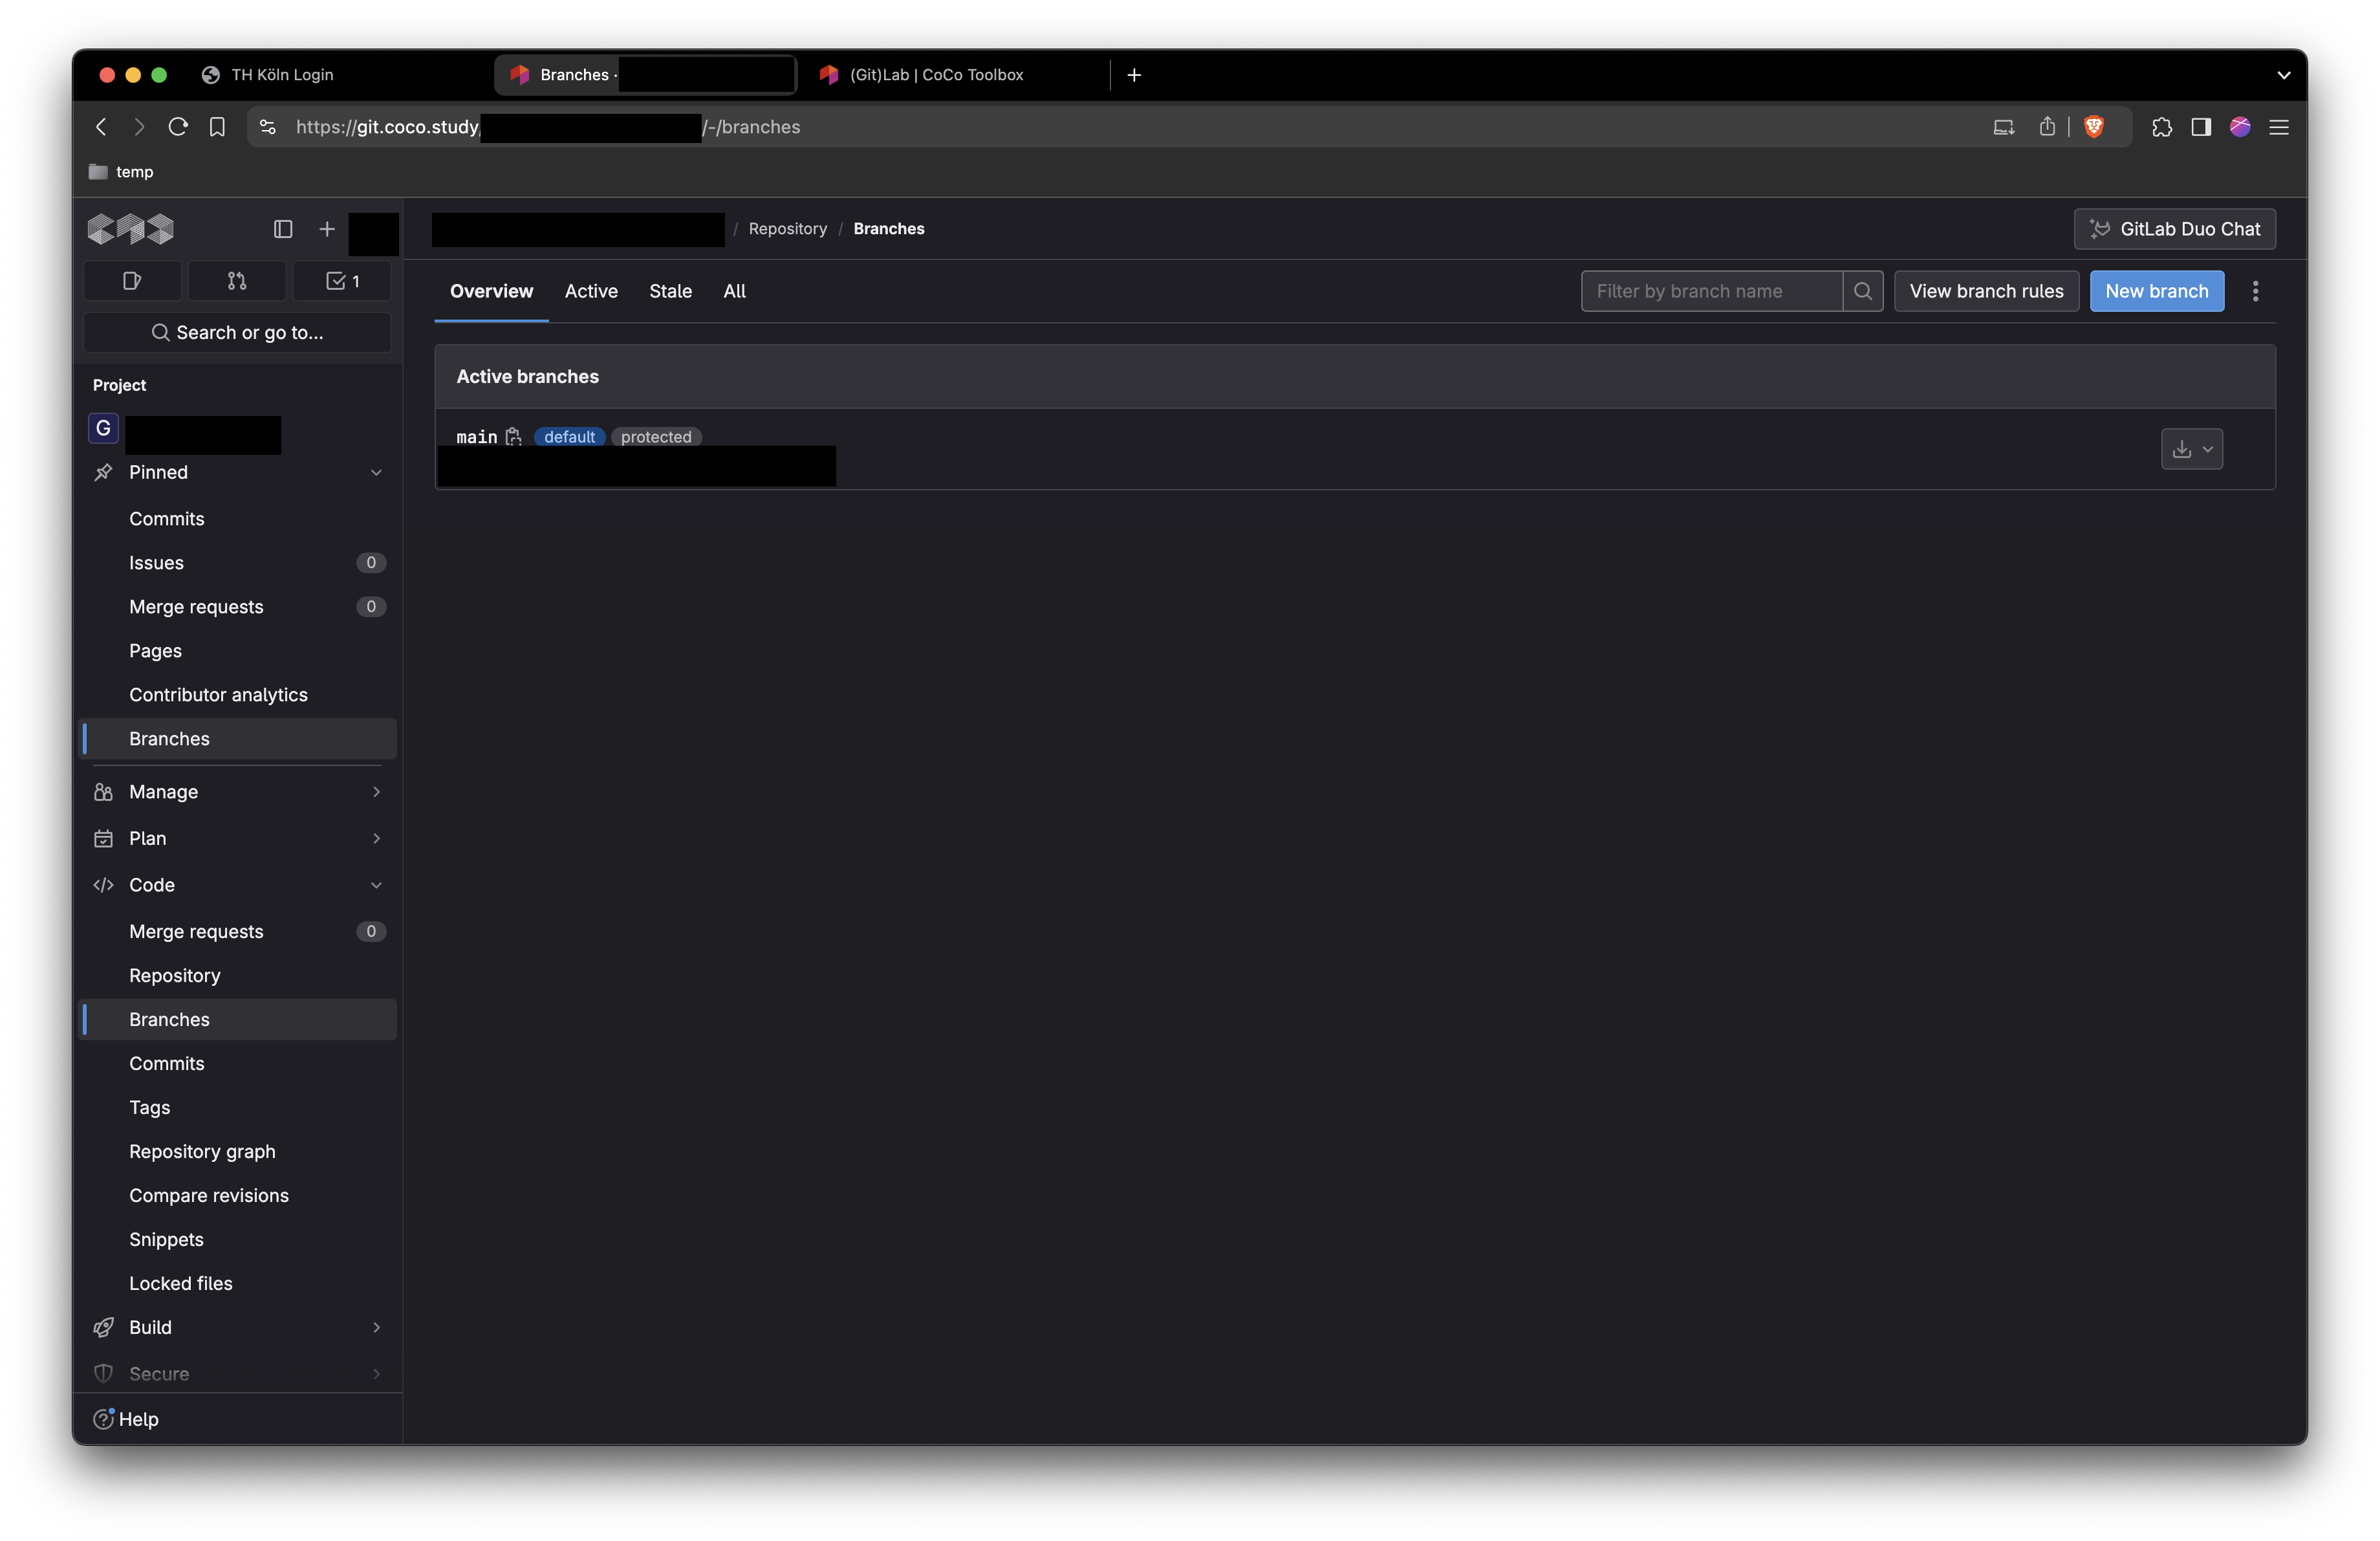
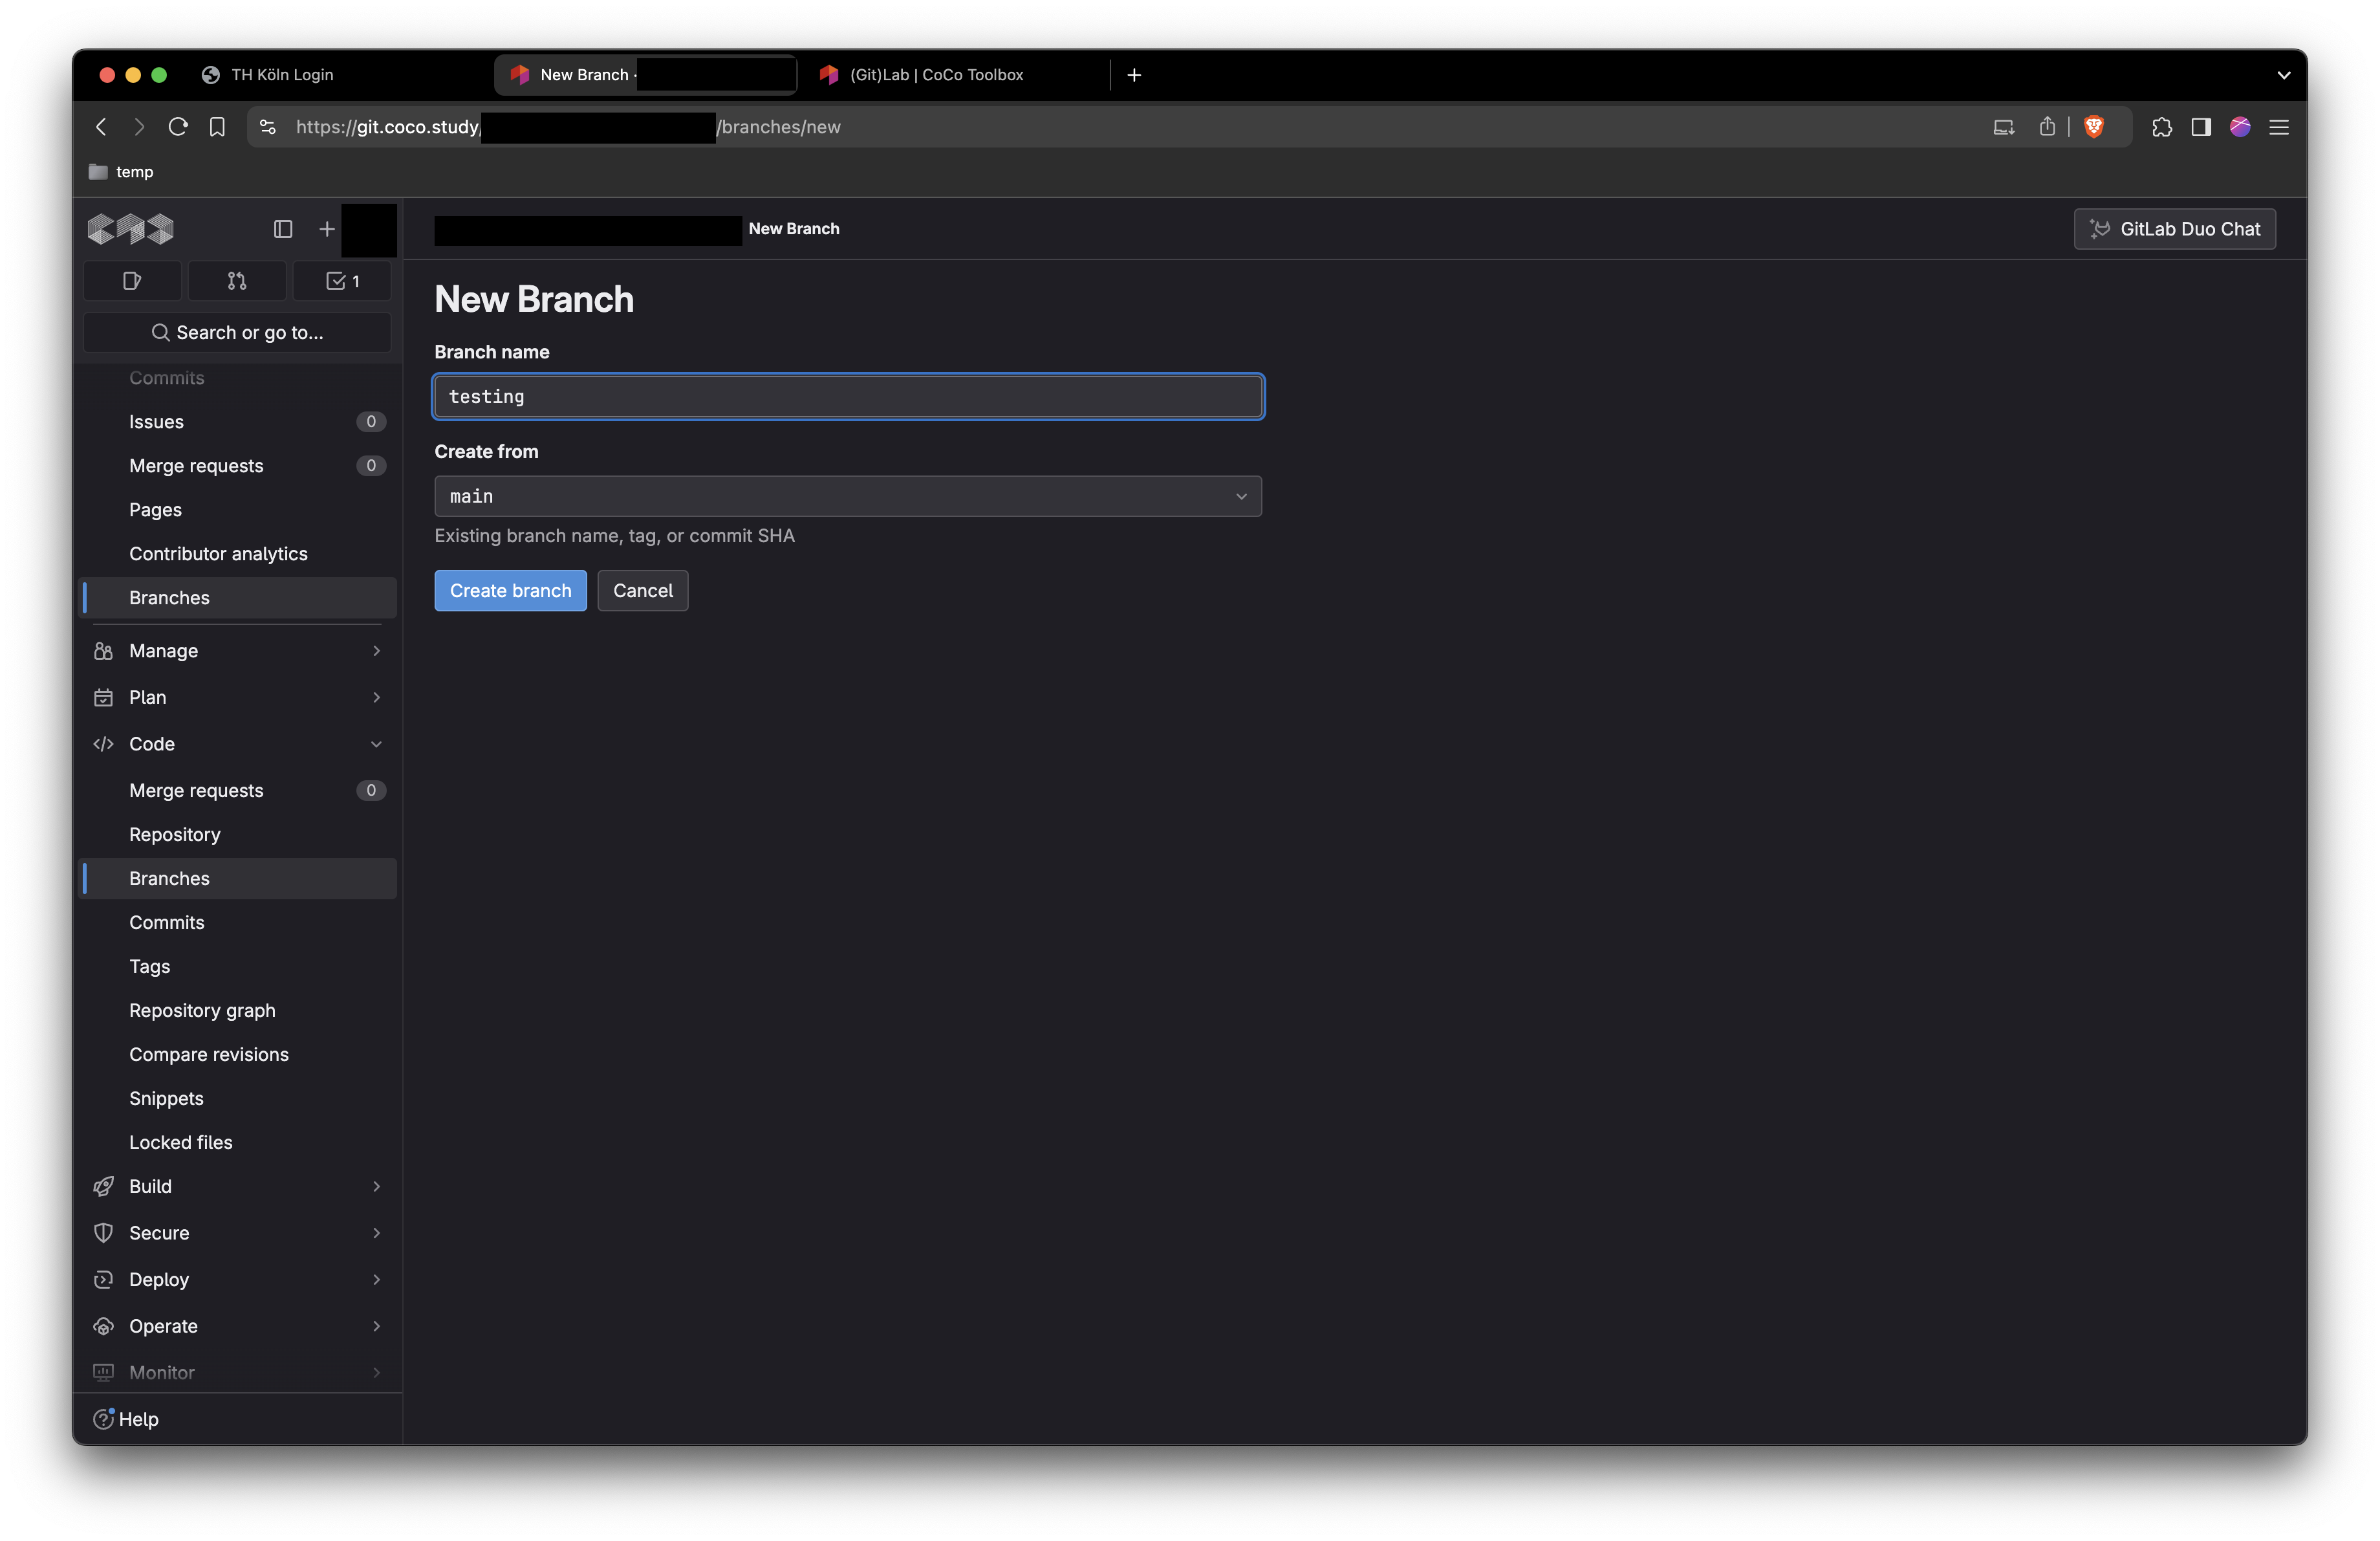
Using GitLab in the Browser

Using the Terminal
- Open the Terminal (Mac/Linux), GitBash, CMD, or PowerShell (Windows).
- Navigate to your repository directory.
- Run the following command:
git checkout -B test-terminalIf successful, you will see: "Switched to a new branch 'test-terminal'".
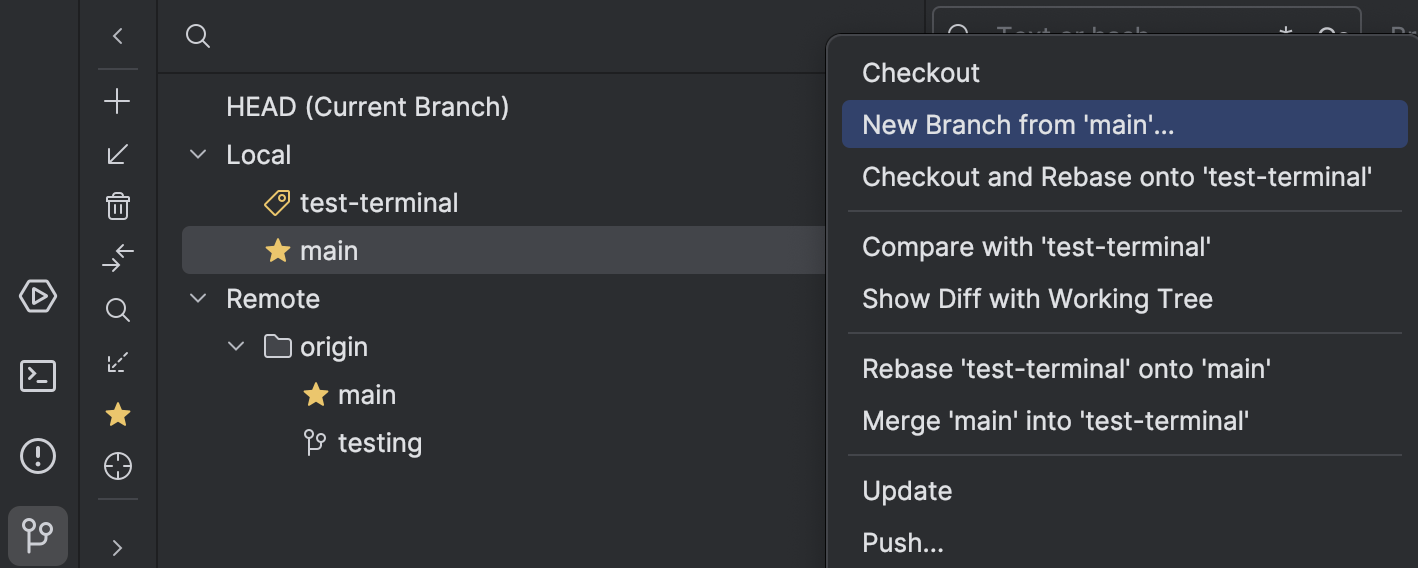
Directly in JetBrains Products
- Open your repository in a JetBrains product of your choice (e.g., IntelliJ).
- Open the Git pane (bottom left).
- Right-click on the Main branch.
- Click on "New Branch from 'main'...".
- Create the branch.